How to Crop a Profile Picture into a Circle for Any Platform
Every major social platform uses circular profile pictures somewhere in the interface. Some show circles everywhere. Others ask for a square upload but display it inside a circle later. If you upload a rectangular photo without checking the circular framing, the platform may cut off hair, glasses, shoulders, a logo mark, or important background context.
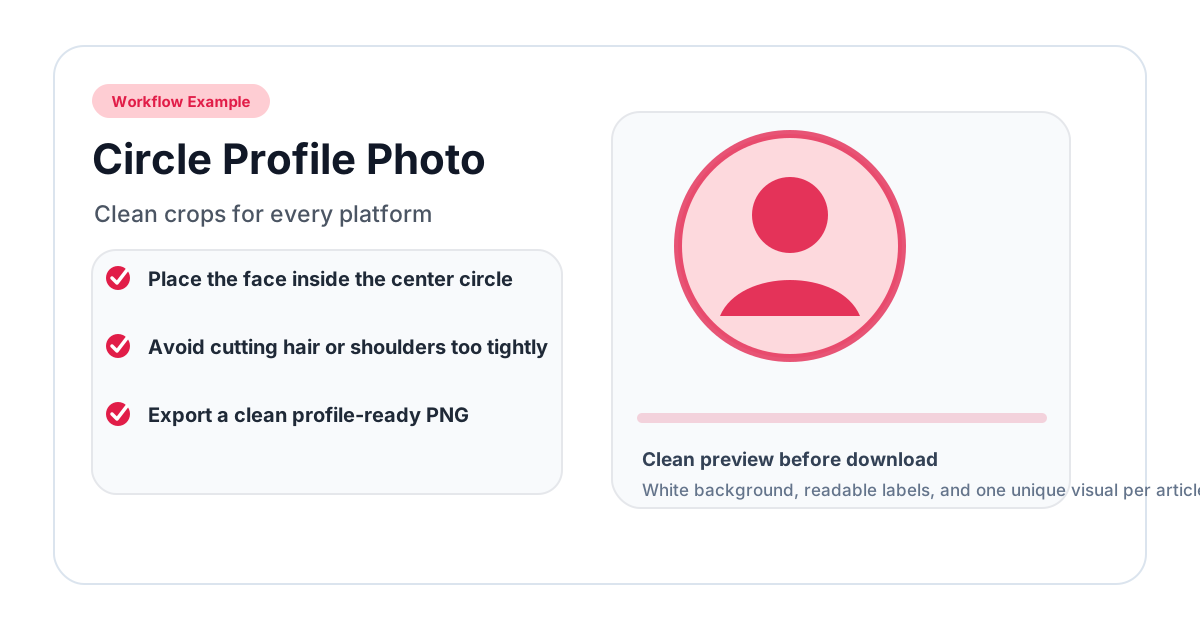
Cropping your profile picture into a circle before uploading gives you control. You can see the final shape, adjust the subject, and download a reusable version for multiple platforms.
Why Profile Pictures Are Hard to Crop
Profile pictures are small. A crop that looks fine at 800 pixels wide may fail at 48 pixels. The circular mask removes corners, and the platform may add compression. That means composition matters more than people expect.
The safest profile crop usually has:
- a centered face, logo, or avatar;
- clear contrast against the background;
- enough padding around the subject;
- no important text near the circle edge;
- a high-resolution source image.
Step 1: Choose the Best Source Photo
Pick an image where the subject is already easy to recognize. For a person, choose a photo with good lighting and a clean background. For a logo, choose a square or near-square version with enough whitespace.
Avoid:
- full-body photos for tiny avatars;
- low-light selfies;
- screenshots of existing profile pictures;
- logos with long text;
- images where the face or logo is close to the edge.
Step 2: Open the Circle Crop Tool
Use Circle Crop Image for general circular PNG output, or use the PFP Cropper if you want social platform presets.
Upload the image and wait for the circular preview to appear.
Step 3: Frame the Face or Logo
For headshots, place the eyes slightly above center. Leave a little space above the head and around hair or glasses. Include part of the shoulders if the image is for professional use.
For logos, center the visual mark and leave internal padding. Many logos have invisible whitespace, so judge by how the mark looks inside the circle rather than by exact pixel center.
Step 4: Preview at Small Size
Before downloading, mentally shrink the preview. If the face, symbol, or avatar is not recognizable at small size, crop closer or choose a simpler image. If it feels cramped, crop wider.
A useful test is to zoom your browser out or view the downloaded image as a small thumbnail. This reveals problems that are invisible in a large editor.
Step 5: Download and Upload
Download as PNG if you want transparent corners. Upload the file to your platform and check its preview before saving.
If the platform still applies an additional circular mask, the image should remain safe as long as you left enough padding.
Platform-Specific Advice
Use a professional headshot with a clean background. The face should be clear, but not cropped so close that it feels uncomfortable. LinkedIn uses the photo in search results, feeds, messages, and profile pages, so it needs to work at several sizes.
Instagram profile pictures are small in the app. Use a close face crop or a simple brand mark. Avoid detailed backgrounds and small text.
Discord
Discord PFPs appear tiny in chats. Illustrated avatars, logos, and close-up face crops work better than detailed photos. Use high contrast and simple shapes.
YouTube
Use a large square source, ideally 800 x 800. Channel icons appear in comments, search, subscriptions, and channel pages. Text-heavy logos usually need a simplified version.
Company Websites
For team pages, consistency matters more than individual flair. Use the same crop size, head position, background treatment, and output dimensions across all people.
Common Mistakes
Too little margin
Hair, ears, glasses, and logos should not touch the circle edge. Leave more room than you think you need.
Wrong output format
Use PNG for transparency. JPG will flatten the transparent area into a solid rectangle.
Mixed team photo styles
If one team member is tightly cropped and another is loose, the layout looks inconsistent. Create a framing standard before cropping a full team.
Ignoring background contrast
The background inside the circle remains visible. A distracting background can make the subject harder to read.
Recommended Workflow for Teams
- Choose source photos with similar lighting.
- Crop each person with the same head height.
- Keep shoulders visible at a similar level.
- Export all images at the same dimensions.
- Test the row or grid before publishing.
This makes team pages, testimonial sections, and author bios feel intentionally designed.
Related Tools
- Circle Crop Image for transparent PNG circular crops.
- PFP Cropper for social media presets.
- Square Crop Image if the target platform asks for square uploads.
- Oval Crop if the subject needs more vertical room.
Example: One Photo, Three Different Crops
The same portrait can need different crops depending on context. A LinkedIn crop should look professional and leave a little shoulder room. A Discord crop can be closer and more expressive because it appears very small. A company team-page crop should match the other team photos, even if that means using a slightly wider frame.
This is why saving only one final crop can be limiting. Keep the original image and create separate exports when needed. The face may be the same, but the best framing changes by platform.
Accessibility and Recognition
Profile pictures help people recognize accounts quickly. Avoid crops that are so stylized that the person or brand becomes hard to identify. If the profile belongs to a business, school, support team, or community account, clarity is usually more important than visual novelty.
For personal accounts, expression matters. A face that is too small feels distant. A face that is too close feels cramped. The best crop usually shows the face clearly while leaving enough context to feel natural.
Final Review Checklist
Before publishing:
- test the image as a small thumbnail;
- check the crop on a light and dark background;
- make sure no platform mask cuts into the subject;
- compare it with other team or brand images if consistency matters;
- keep the original full photo for future crops.
When to Re-crop Instead of Reusing
Reusing the same profile picture everywhere is convenient, but sometimes a new crop is better. Re-crop when the platform displays avatars especially small, when the background color clashes with the page, when a logo needs more padding, or when a professional profile needs a calmer composition than a social account.
For public-facing business pages, review profile pictures at least once a year. Team members change, platform interfaces change, and old crops can start to look inconsistent beside newer photos. A quick re-crop from the original source image is often enough to make the profile feel current again.
If you maintain a personal brand, keep a small folder with the original portrait, the square master, and the circular PNG export. This makes future updates faster and prevents quality loss from repeatedly downloading and re-uploading compressed profile images.
Related image editing guides
PNG vs JPG vs WebP: Which Image Format Should You Use?
Understand the differences between PNG, JPG, and WebP image formats. Learn when to use each format for web design, social media, printing, and more.
Read guideHow to Blur an Image Online for Free (Full & Partial Blur Guide)
Learn how to blur an image online for free. Apply full blur, background blur, or blur specific areas to protect privacy or create depth effects.
Read guideHow to Flip an Image Online: Mirror Horizontally or Vertically
Learn how to flip an image horizontally or vertically online for free. Mirror any photo instantly — no software installation or signup required.
Read guide