
How to Flip an Image Online: Mirror Horizontally or Vertically
Flipping an image means creating a mirror reflection of it — either left-to-right (horizontal flip) or top-to-bottom (vertical flip). It is one of the most basic and useful image transformations, and you can do it instantly online without any software.
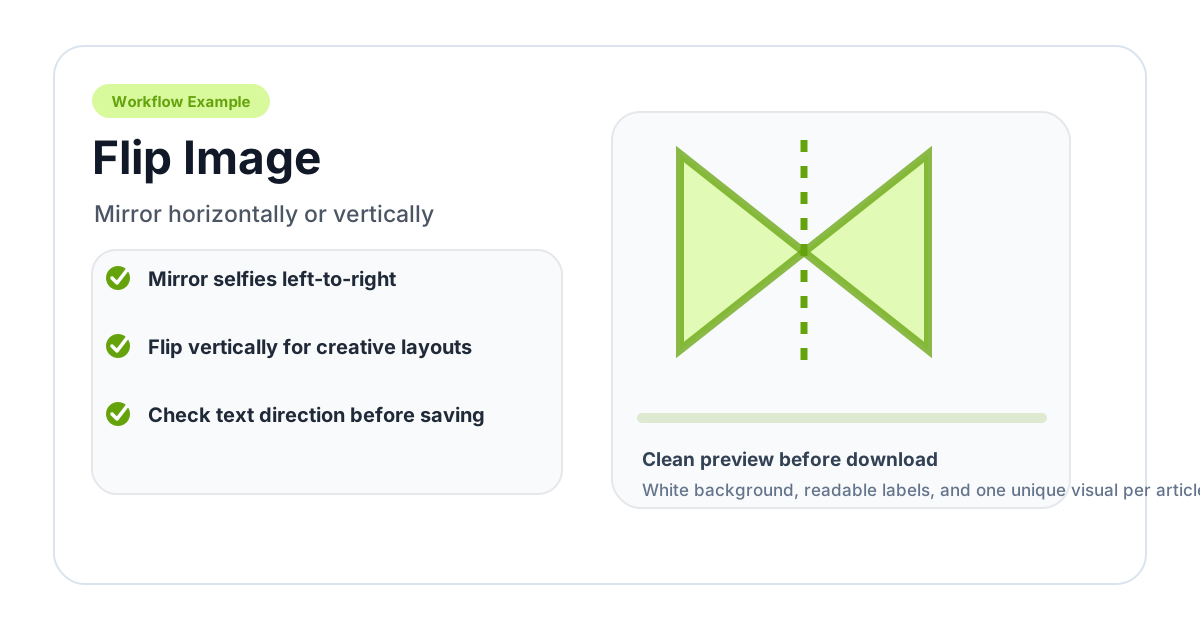
Horizontal Flip vs. Vertical Flip
These two operations look very different and serve different purposes:
Horizontal Flip (Mirror)
A horizontal flip reverses the image left-to-right, like looking in a mirror. This is the more common type of flip.
Common uses:
- Fixing selfie mirrors — Selfie cameras capture a mirrored image. Flipping it back shows how others actually see you
- Design balance — Flipping an image can improve composition when the subject faces the wrong direction for your layout
- Creating symmetrical designs — Flip and combine with the original to create mirror-image patterns
- Correcting scanned documents — Some scanners produce mirrored output that needs to be flipped back
Vertical Flip
A vertical flip turns the image upside down — the top becomes the bottom and vice versa. This is less commonly needed but useful for:
- Fixing orientation — Photos taken with an upside-down camera
- Creating reflection effects — Flipping a landscape photo vertically simulates a water reflection
- Artistic effects — Some designs intentionally use inverted imagery
- Correcting inverted scans — Old film negatives scanned upside down
How to Flip an Image Online (Step-by-Step)
Step 1: Open the Flip Tool
Go to the Flip Image tool. It works directly in your browser — no downloads needed.
Step 2: Upload Your Image
Click to upload or drag and drop your image file. The tool supports JPG, PNG, WebP, and other common formats.
Step 3: Choose Your Flip Direction
Select either:
- Horizontal flip — Mirrors the image left-to-right
- Vertical flip — Flips the image top-to-bottom
You can apply both flips to the same image if needed (which produces the same result as rotating 180°).
Step 4: Preview and Download
See the flipped result instantly. If it looks right, click download to save the flipped image.
When to Flip vs. When to Rotate
Flipping and rotating are different operations that are sometimes confused:
| Operation | What It Does | Example |
|---|---|---|
| Horizontal flip | Mirrors left-to-right | Text appears backwards |
| Vertical flip | Mirrors top-to-bottom | Image is upside down (mirrored) |
| Rotate 90° | Turns the image sideways | Portrait becomes landscape |
| Rotate 180° | Turns upside down | Same as horizontal + vertical flip |
If your image is sideways, you need Rotate Image, not flip. If your image looks like a mirror reflection, you need a horizontal flip.
Practical Examples
Fixing a Selfie
Most front-facing cameras show you a mirrored preview (so it feels natural, like a mirror) but save the photo unmirrored. Some apps save the mirrored version instead. If text in your selfie appears backwards, a horizontal flip fixes it.
Design and Layout
In graphic design, the direction a person faces in a photo matters. If you need someone to face left instead of right (for example, to face toward the text in a layout), a horizontal flip solves this without needing to reshoot.
Creating a Reflection Effect
To create a water reflection effect:
- Flip your landscape photo vertically
- Use the Merge Images tool to stack the original on top and the flipped version on the bottom
- The result looks like a landscape reflected in still water
Print Design
Some printing processes (screen printing, transfers) require mirror images. Flipping the image horizontally before printing ensures the final product appears correctly.
Tips for Flipping Images
-
Check for text — Text in a flipped image appears backwards. If your image contains visible text (signs, logos, shirts), make sure flipping does not make it unreadable.
-
Watch for asymmetric details — Watches, rings, parted hair, and other asymmetric features will appear on the opposite side after flipping. This matters for portraits.
-
Flip before cropping — If you plan to both flip and crop an image, flip first. This ensures you are cropping the correctly oriented version.
-
Compare before and after — Sometimes a flipped image looks subtly wrong because we are used to seeing the original orientation. Toggle between both versions to decide which works better.
Related Tools
- Rotate Image — Rotate images by 90°, 180°, or any custom angle
- Color Inverter — Invert the colors of an image
- Circle Crop — Crop images into a circle shape
- Merge Images — Combine flipped and original images for mirror effects
Frequently Asked Questions
Does flipping an image reduce quality?
No. Flipping is a lossless operation — it simply rearranges the existing pixels without compressing or modifying them.
Can I flip just part of an image?
The online flip tool flips the entire image. To flip a specific region, you would need to crop that region first, flip it separately, and then merge it back.
Is flipping the same as mirroring?
Yes. "Flip horizontally" and "mirror" mean the same thing — reversing the image left-to-right.
Can I flip an image on my phone?
Yes. The Flip Image tool works in any mobile browser. Upload from your camera roll and flip instantly.
What happens if I flip an image twice?
Flipping an image twice in the same direction returns it to the original orientation. Two horizontal flips cancel each other out, as do two vertical flips.
Related image editing guides
PNG vs JPG vs WebP: Which Image Format Should You Use?
Understand the differences between PNG, JPG, and WebP image formats. Learn when to use each format for web design, social media, printing, and more.
Read guideHow to Blur an Image Online for Free (Full & Partial Blur Guide)
Learn how to blur an image online for free. Apply full blur, background blur, or blur specific areas to protect privacy or create depth effects.
Read guideHow to Rotate an Image Online: 90°, 180° or Any Custom Angle
Learn how to rotate an image online for free — 90°, 180°, 270°, or any custom angle. Fix sideways photos and adjust orientation instantly in your browser.
Read guide