How to Circle Crop an Image Online for Free (Step-by-Step Guide)
If you need to crop an image into a circle shape, the fastest approach is to use a dedicated browser-based circle cropper. A normal rectangular crop removes the outside edges but still leaves a square or rectangle. A circle crop removes the corners completely, leaving only the round subject area. That makes it useful for profile pictures, team pages, avatars, logos, directories, app icons, and design thumbnails.
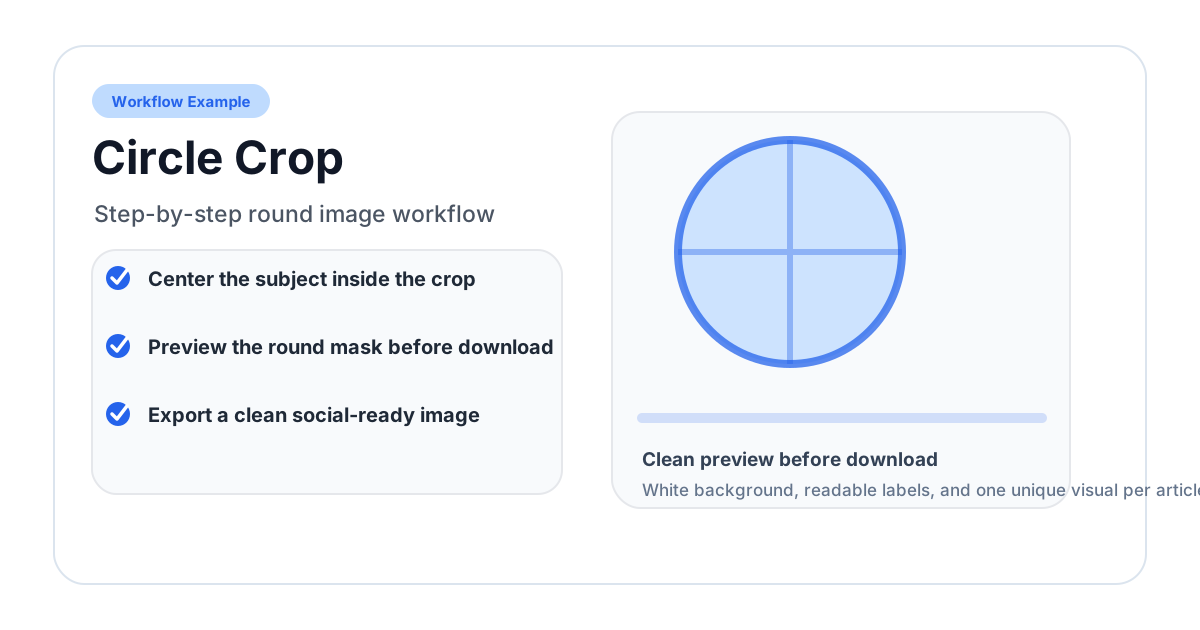
This guide explains the full workflow, including how to choose a source image, how to frame the subject, when to export PNG, and how to check the final image before uploading it somewhere else.
What a Circle Crop Actually Changes
A circle crop is more than a decorative mask. It changes composition because the four corners disappear. Those corners often contain background, shoulders, product context, hair, glasses, or logo spacing. If the original photo was composed for a rectangle, the circular version may feel tighter than expected.
Before cropping, look at three things:
- Subject position: the most important part should sit near the center.
- Edge safety: hair, ears, text, and logo marks should not touch the circle edge.
- Small-size readability: profile pictures are often shown at 40px to 128px, so details must stay clear when reduced.
A good circle crop usually has slightly more margin than a square crop. For headshots, leave room above the head and around hair or glasses. For logos, leave enough internal padding so the mark does not look squeezed.
Step 1: Choose the Right Source Image
Start with the largest clean version of the image you have. A high-resolution source gives you more room to zoom, reposition, and crop without producing a blurry result.
Good source images usually have:
- even lighting;
- a clear subject;
- enough background around the face, product, or logo;
- no important text near the corners;
- at least 400 x 400 pixels for profile pictures, and preferably 1000 x 1000 or larger for design work.
Avoid starting from tiny social media thumbnails. If the image is already compressed or pixelated, the circle crop cannot restore missing detail.
Step 2: Upload the Image
Open Circle Crop Image and upload your photo. You can use common image formats such as JPG, PNG, and WebP. The basic crop workflow runs in your browser, so the image can be previewed and exported locally without needing an account.
Once the file loads, the page shows a circular crop area over the image. This preview matters because it shows the actual shape that will be kept.
Step 3: Position the Circle
Drag the circle until the subject is framed correctly. For a portrait, the eyes should usually sit slightly above the vertical center, not exactly in the middle. This gives the head more natural spacing. For a logo, center the mark visually rather than mathematically; some logos have uneven whitespace and need manual adjustment.
Use this quick checklist:
- Is the face, logo, or subject clearly visible?
- Is there a little space between the subject and the circle edge?
- Does the crop still make sense if viewed very small?
- Are there distracting background objects inside the circle?
- Would an oval or square crop preserve the subject better?
Step 4: Adjust Size and Zoom
Resize the circular crop area until it includes the right amount of context. Cropping too tightly is the most common mistake. A tight crop can look dramatic at full size, but it often fails as an avatar because platforms display the image much smaller.
For profile photos, include the full face and a small part of the shoulders. For product or logo crops, preserve enough padding so the object does not touch the edge. If the subject is wide or tall, consider whether oval crop or square crop would preserve more information.
Step 5: Download as Transparent PNG
Download the result as PNG when you need transparent corners. PNG supports an alpha channel, which means everything outside the circle can be invisible. This is the safest format for avatars, logos, website assets, and design layouts because the circular image can sit on light, dark, or patterned backgrounds.
JPG does not support transparency. If you save a circle crop as JPG, the outside area must become a solid color, usually white. That can create an unwanted square box when placed on a non-white background.
How to Check the Final Result
After downloading, inspect the crop before using it:
- Open the PNG on a colored or checkerboard background to confirm transparency.
- Zoom out until the image is about the size of a profile picture.
- Check whether the face, mark, or product is still recognizable.
- Upload it to the target platform and preview before saving.
This last step is important. Some platforms apply their own circular mask even if your file is already circular. If your crop has enough margin, the platform mask should not cut into the subject.
Common Use Cases
Social Profile Pictures
Most social platforms display profile photos in a circle. Pre-cropping lets you control the framing before the platform compresses or masks the image.
Team and Author Photos
Circular headshots are common on company websites, blogs, and testimonial sections. Use consistent crop size and head position across the whole team so the layout looks intentional.
Logos and Directory Profiles
Many app directories, startup directories, and social bios use round slots. A transparent PNG circle crop helps a logo blend into different page backgrounds.
Presentation and Document Headshots
Round headshots can make slide decks, resumes, and reports feel more polished. PNG transparency avoids a visible square around the image.
Related Shape Tools
- PFP Cropper for platform-specific profile picture sizes.
- Oval Crop when the subject needs more vertical or horizontal room.
- Heart Crop for decorative or gift-style images.
- Round Corners Image when you want softened rectangles instead of a full circle.
FAQ
Is circle crop image free?
Yes. The basic circle crop workflow is free to use, does not require signup, and does not add watermarks.
Does the tool work on mobile?
Yes. The page works in modern mobile browsers. For the best result, use a high-resolution source image and zoom in to inspect the crop before downloading.
Are my images uploaded?
The basic crop workflow is designed to run in your browser. Your image is loaded locally for preview and exported from the browser.
What format should I download?
Use PNG when you need transparent corners. Use JPG only if a solid background is acceptable.
Practical Example: Headshot vs Logo
A headshot and a logo need different circle crop decisions. For a headshot, the crop should make the face recognizable and natural. The forehead, hair, glasses, chin, and shoulders need a little room. A crop that feels dramatic in a large preview may feel uncomfortable when shown as a tiny avatar.
For a logo, the issue is usually padding. Many logos are designed for rectangular spaces and include text or horizontal marks. When those marks are forced into a circle, they can feel too small or too close to the edge. If the logo has a separate icon mark, use that instead of a full wordmark.
Quality Checklist Before You Publish
Use this checklist before uploading the final image:
- View the downloaded PNG at the size where it will actually appear.
- Put it on both a light and dark background if the file has transparency.
- Check whether the edge looks smooth, not jagged.
- Make sure the main subject is not touching the circle boundary.
- Keep the original image in case you need a wider crop later.
For a team page, create one sample crop first and use it as the standard for every other photo. Consistent head height, shoulder position, and background treatment often matter more than the exact crop diameter.
When a Circle Crop Is the Wrong Choice
Circle crops are useful, but they are not always best. A tall product, wide logo, full-body portrait, or document screenshot may lose too much context in a circle. In those cases, try a square crop, rounded rectangle, or oval crop. The goal is not to force every image into a circle; the goal is to choose the shape that preserves the useful part of the image.
Related image editing guides
PNG vs JPG vs WebP: Which Image Format Should You Use?
Understand the differences between PNG, JPG, and WebP image formats. Learn when to use each format for web design, social media, printing, and more.
Read guideHow to Blur an Image Online for Free (Full & Partial Blur Guide)
Learn how to blur an image online for free. Apply full blur, background blur, or blur specific areas to protect privacy or create depth effects.
Read guideHow to Flip an Image Online: Mirror Horizontally or Vertically
Learn how to flip an image horizontally or vertically online for free. Mirror any photo instantly — no software installation or signup required.
Read guide