
How to Circle Crop an Image with Transparent Background (PNG Export)
When you circle crop an image, the area outside the circle has to be handled somehow. If you save the result as JPG, that outside area becomes a solid rectangle. If you save the result as PNG with transparency, the corners become invisible. That difference is why transparent PNG is usually the best output for circular profile pictures, logos, avatars, and website images.
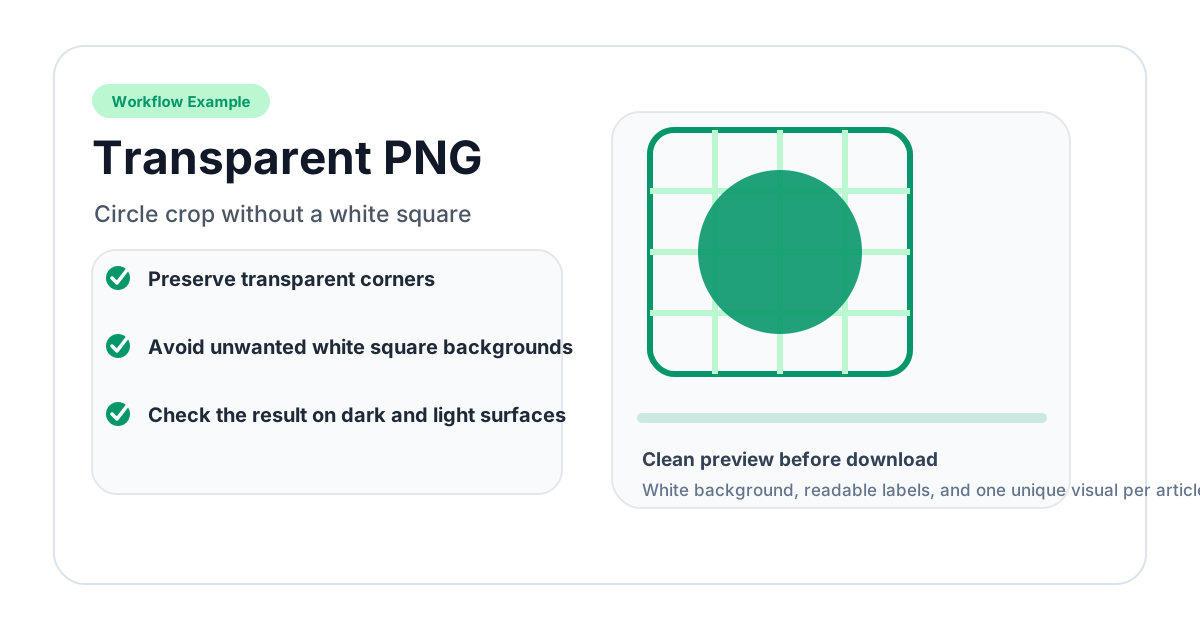
This guide explains how transparent backgrounds work, why they matter, and how to check that your circle crop is really transparent after download.
Why Transparent Backgrounds Matter
A circle crop with a transparent background can sit on almost any design. It can be placed over a white page, dark navigation bar, gradient slide, patterned card, or colored profile area without showing a square box.
Transparency is especially important for:
- profile pictures used across different themes;
- team headshots on colored website sections;
- logos used in directories and app profiles;
- presentation graphics;
- email signatures and business documents;
- UI avatar components in apps and dashboards.
Without transparency, the circle may look fine on a white page but wrong everywhere else. A white square around a round image is one of the easiest ways to make a design look unfinished.
PNG vs JPG for Circle Crops
PNG and JPG behave very differently.
| Format | Transparency | Best use |
|---|---|---|
| PNG | Full alpha transparency | Circle crops, logos, UI assets, avatars |
| JPG | No transparency | Normal rectangular photos |
| WebP | Supports transparency | Web images when platform support is known |
| GIF | Limited transparency | Simple graphics or animation |
For a circle crop, PNG is the safest default. It keeps the outside area transparent and preserves clean edges. JPG is smaller for normal photos, but it cannot preserve transparency.
How to Create a Transparent Circle Crop
Step 1: Upload the Source Image
Open Circle Crop Image and upload a JPG, PNG, or WebP file. The source file does not need to already have transparency. Even a normal JPG photo can be exported as a transparent PNG after cropping.
Step 2: Frame the Circle
Move and resize the circular selection so the subject sits comfortably inside the crop. Leave a small safety margin around faces, hair, glasses, logos, or text. Transparent corners will not fix an overly tight crop.
Step 3: Download as PNG
Download the result as PNG. The visible circular area keeps the image, while the pixels outside the circle are exported with transparent alpha.
Step 4: Test the Transparency
Open the downloaded PNG on a non-white background. You can also drag it into a design tool, presentation, or webpage with a colored section. If the outside area disappears, the transparency is working. If you see a white square, the file has been flattened somewhere in the workflow.
How White Edges Happen
White edges or boxes usually happen for one of these reasons:
- The image was saved as JPG after download.
- Another editor flattened the PNG onto a white background.
- The platform preview uses a white page behind the transparent area.
- The original image had a light border near the subject.
- Anti-aliased edge pixels blended with a previous white background.
To avoid this, download the PNG directly and keep it as PNG through the whole workflow.
What Is Alpha Transparency?
PNG transparency uses an alpha channel. Each pixel has color information plus an opacity value. Pixels inside the circle are visible. Pixels outside the circle can be fully transparent. Pixels along the edge are partially transparent, which creates a smooth anti-aliased border instead of a jagged staircase edge.
That smooth edge is important for professional-looking circular images. A hard, jagged circle looks rough when placed on high-contrast backgrounds.
Best Practices for Transparent Circle PNGs
Use Enough Resolution
Start with a large source image. If your output will be used as a profile picture, 400 x 400 pixels is the practical minimum. For website or presentation use, 1000 x 1000 or larger gives more flexibility.
Leave Internal Padding
Transparent corners remove the outside rectangle, but the inside of the circle still needs breathing room. Keep faces, hair, logos, and icons away from the exact edge.
Keep the Original File
After cropping, keep the original source image. A circle crop removes everything outside the circle. If you later need a wider crop, you will need the original file again.
Avoid Recompressing
Do not upload the transparent PNG into a tool that automatically converts it to JPG. Some social platforms preserve transparency poorly, but design tools, websites, and documents usually handle PNG correctly.
When Not to Use Transparent PNG
Transparent PNG is not always necessary. If you are uploading to a platform that will display the image inside its own circular mask, a square JPG can work. However, pre-cropping still helps you preview the framing. Use transparent PNG when you need the downloaded file itself to be circular in other designs.
Common Problems
The background is still white
Check whether the file extension is PNG. If it is JPG or JPEG, transparency was lost.
The file is too large
PNG can be larger than JPG. Resize the image to the actual size you need, then compress the PNG if necessary.
The edge looks rough
Use a higher-resolution source and avoid scaling a tiny crop up after export.
The circle is cut off on a platform
Leave more internal padding. Some platforms apply their own crop mask after upload.
Related Tools
- Circle Crop Image for transparent PNG circle crops.
- PFP Cropper for social profile picture sizes.
- PNG vs JPG vs WebP guide for format decisions.
Practical Example: Website Team Photo
Imagine a company team section with a pale green background. If each headshot is saved as a JPG after circular cropping, every photo may show a white square around the person. Even if the face is cropped correctly, the visible square breaks the design. A transparent PNG avoids that problem because only the round image remains visible.
The same issue appears in slide decks and email signatures. A profile picture that looks acceptable on a white page can look wrong on a dark slide or colored footer. When the image might be reused across multiple backgrounds, transparent PNG is the safer master file.
How to Store Your Final Files
Keep two versions when possible:
- the original full-size source image;
- the final transparent PNG circle crop.
If the platform requires JPG, create that as a separate upload copy. Do not replace the transparent PNG with the JPG version. Once transparency is flattened, it cannot be restored from the JPG alone.
Edge Quality Checklist
Before publishing, inspect the edge:
- Place the PNG on a dark background and a light background.
- Look for white halos around hair, shoulders, or logo edges.
- Check whether the circle edge is smooth at 100% zoom.
- Confirm that the file extension is actually .png.
- Avoid pasting the image into tools that automatically flatten transparency.
These small checks prevent most transparent-background problems before they reach a website, profile page, or presentation.
Related image editing guides
PNG vs JPG vs WebP: Which Image Format Should You Use?
Understand the differences between PNG, JPG, and WebP image formats. Learn when to use each format for web design, social media, printing, and more.
Read guideHow to Blur an Image Online for Free (Full & Partial Blur Guide)
Learn how to blur an image online for free. Apply full blur, background blur, or blur specific areas to protect privacy or create depth effects.
Read guideHow to Flip an Image Online: Mirror Horizontally or Vertically
Learn how to flip an image horizontally or vertically online for free. Mirror any photo instantly — no software installation or signup required.
Read guide